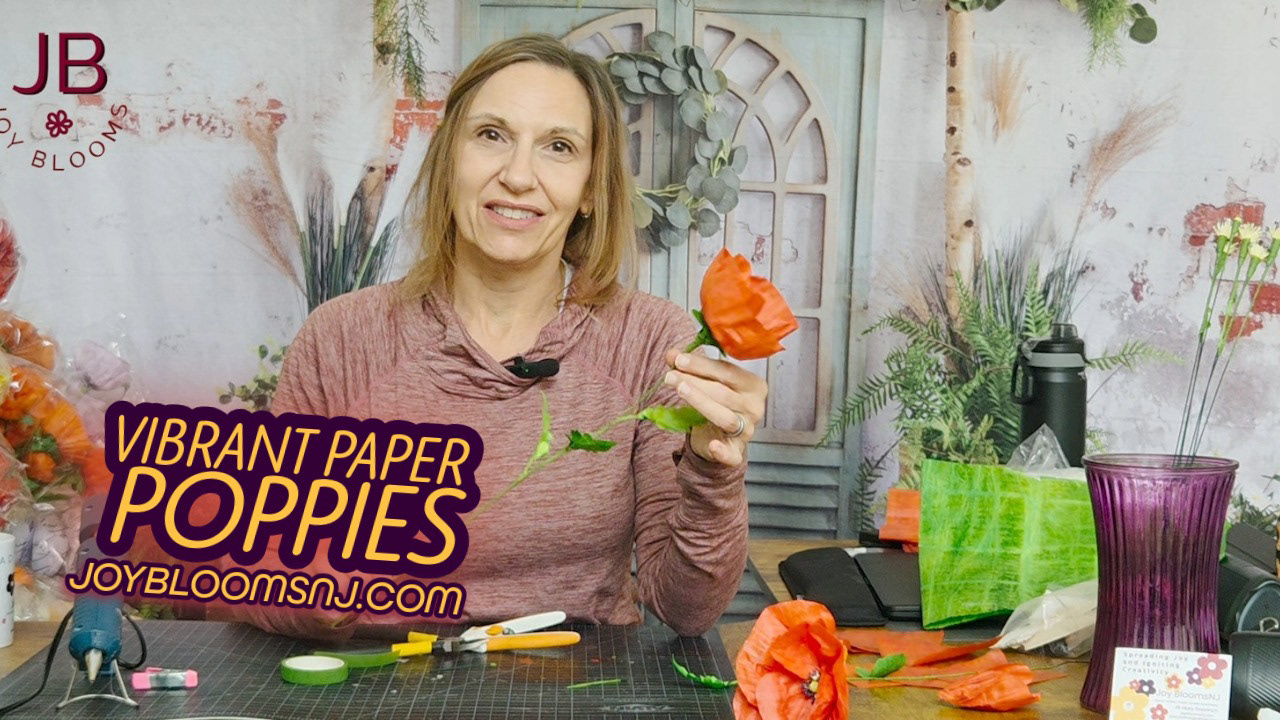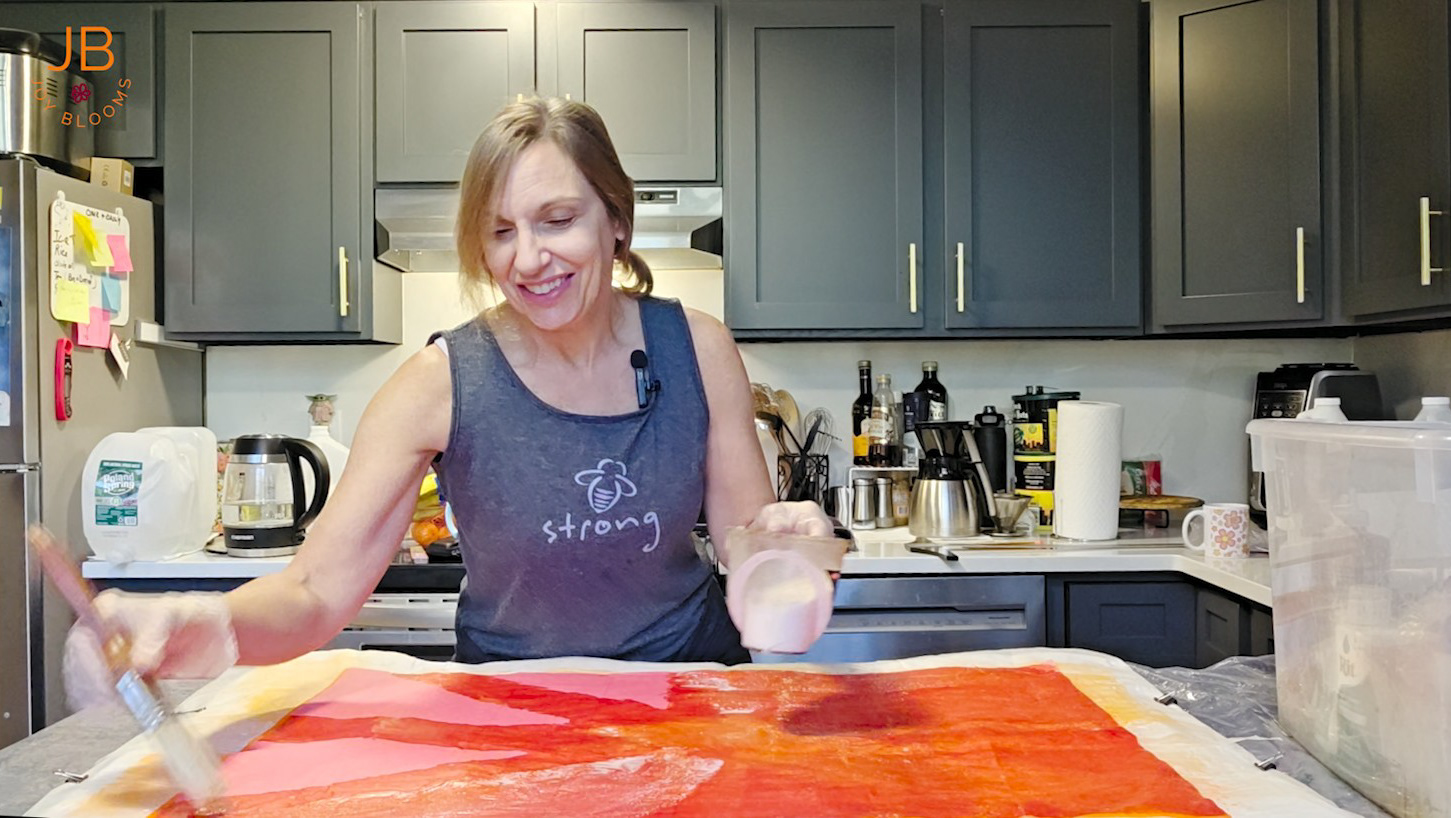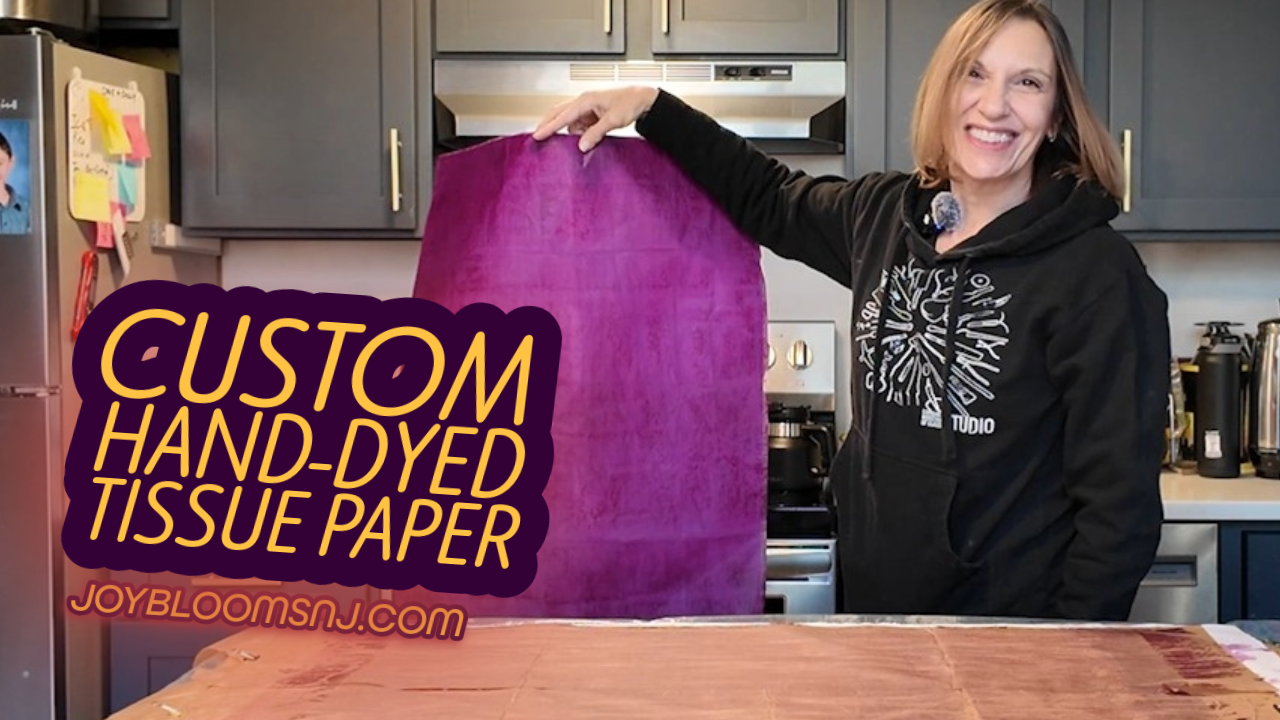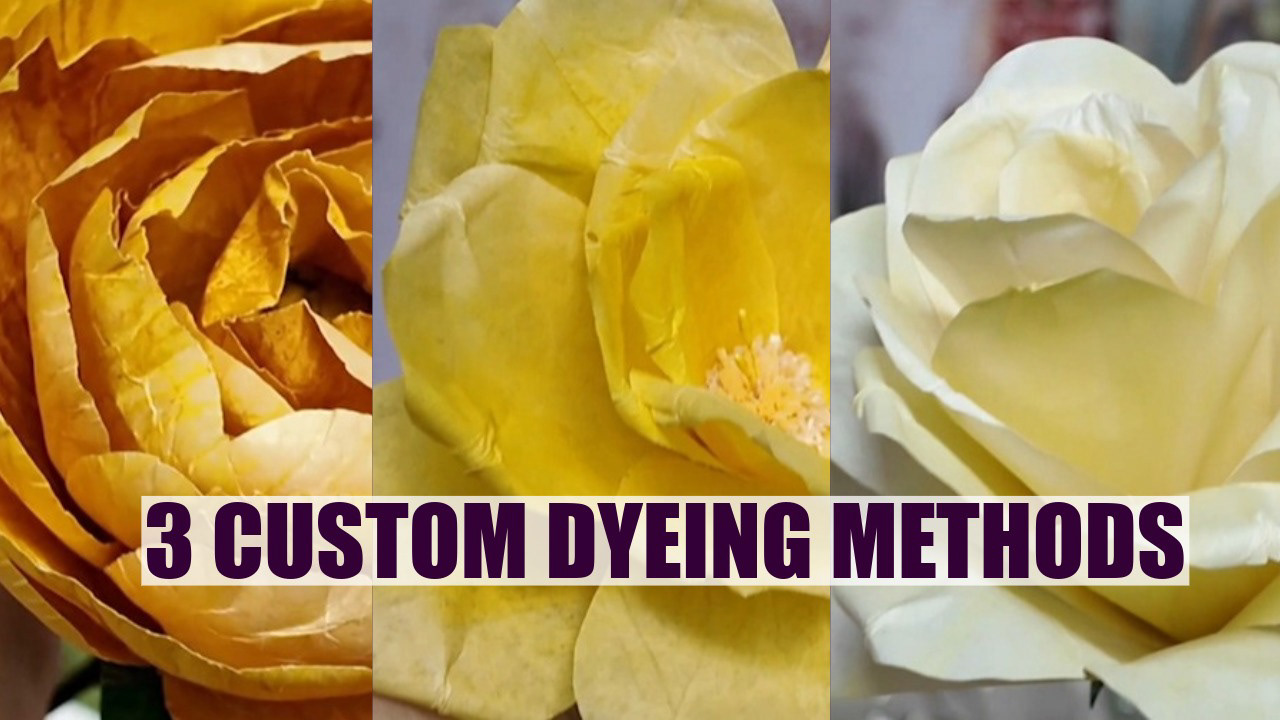
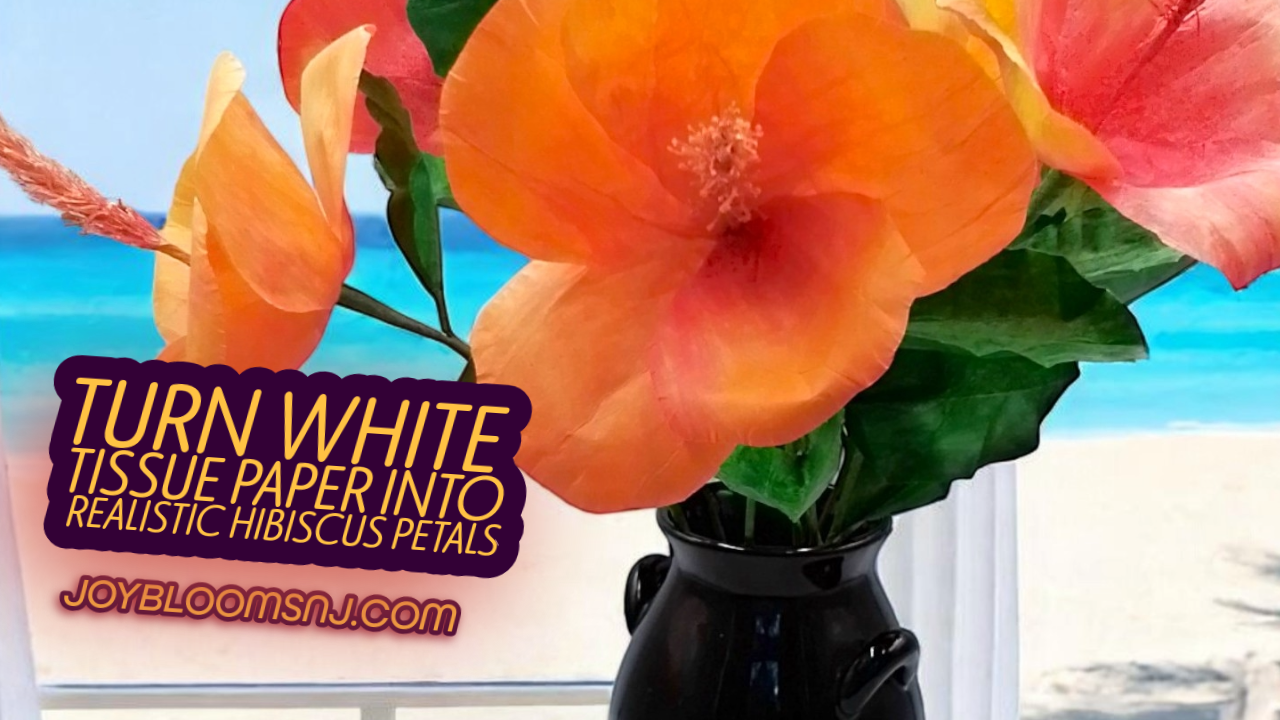
Bring the tropics into your studio! 🌺 In today’s tutorial, we are spreading joy by creating a stunning, realistic Paper Hibiscus. This project was part of a custom order, and I’m so excited to show you how I transformed plain white tissue paper into these vibrant blooms. Because the Hibiscus has such distinct, thick petals, I’m using my signature method of layering four sheets of tissue paper.
Watch how I custom dye them in gradients of wine, red, orange, and yellow, and use a special "sand dipping" technique to create a hyper-realistic center. In this video, you will learn:
✨ How to dye and prep 4-layer tissue paper for thicker petals.
✨ How to create a realistic "bottleneck" center using crepe paper and sand.
✨ My wet-molding technique to make stiff paper flexible and organic.
✨ How to assemble the full stem and add lush leaves.
👇 MENTIONED IN THIS VIDEO: Want to learn the basics of how I glue and set up my paper boards? Watch my "Crafting Custom Paper" tutorial here: https://youtu.be/jzkM5LiwWxk
🌿 ABOUT JOYBLOOMSNJ: At JoyBloomsNJ, our mission is to spread joy one petal at a time while igniting creativity. I create paper flowers and plants that last forever, and I love sharing my process with you.